
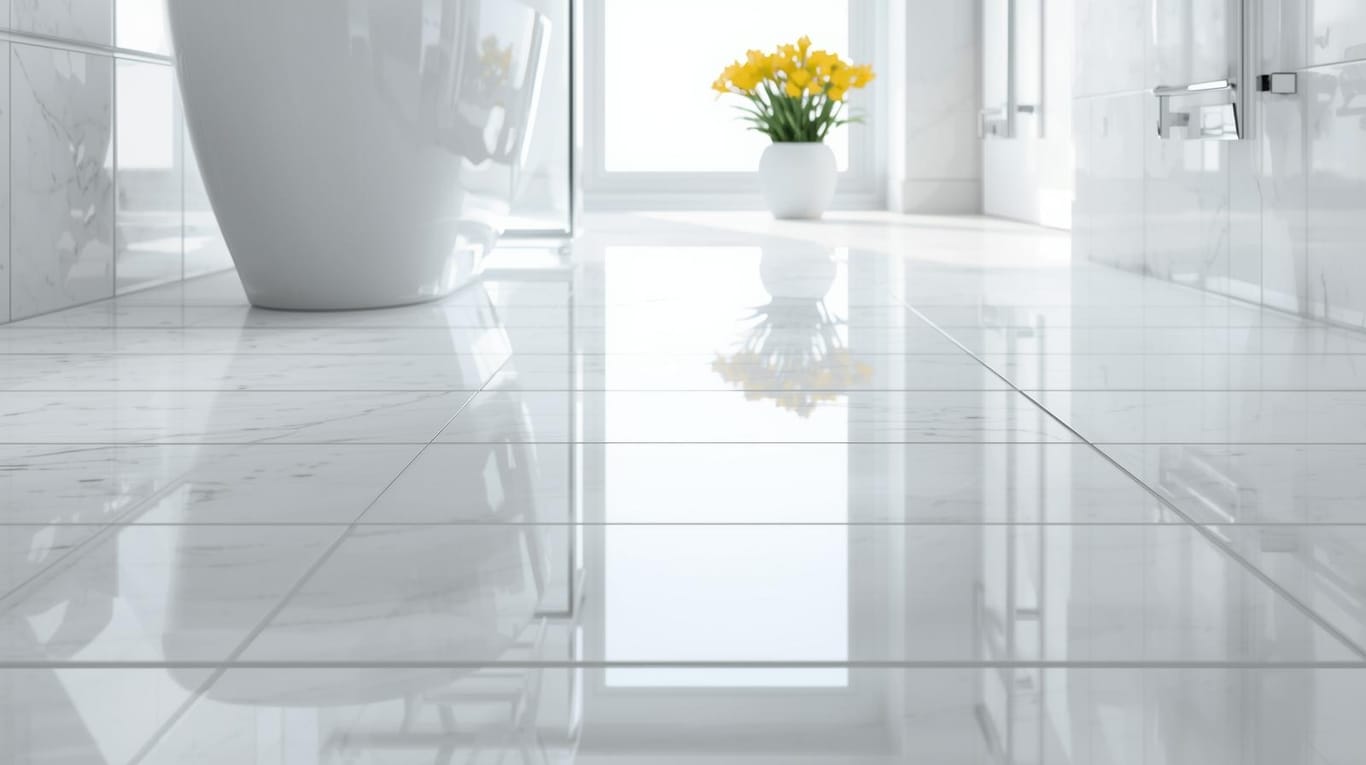
Looking for the Best Tile Store in Toronto, Mississauga & Barrie? Here’s How to Choose the Right One
Looking for a trusted tile store in Toronto, Mississauga, or Barrie? Learn how to choose the right tile retailer in Cana...
Discover the latest trends, tips, and insights in flooring design and installation
Looking for a trusted tile store in Toronto, Mississauga, or Barrie? Learn how to choose the right tile retailer in Cana...
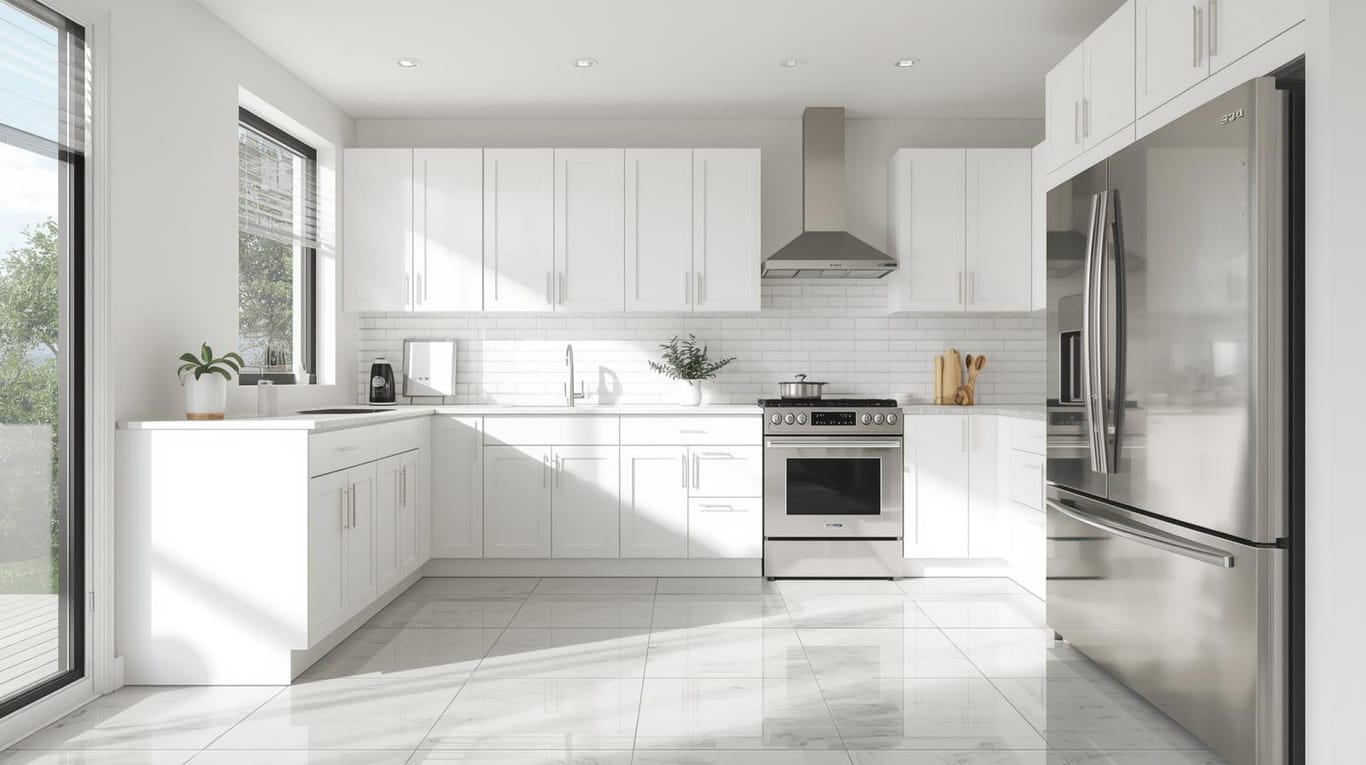
Choosing the right flooring feels permanent, but it doesn't have to be stressful. While 10mm laminate and 10mm vinyl pla...

Tile shoppers in Mississauga searching for meaningful savings and smart renovation timing need a single, practical guide...
Tile cracking occurs when stress exceeds a tile’s ability to flex, leading to fissures that compromise both appearance a...
Discover the best tile promotions in Barrie through Squarefoot Flooring and save on premium porcelain, ceramic, luxury v...
Evaluating tile store offerings systematically prevents issues by ensuring you select reputable suppliers, durable produ...
Installing tile flooring or wall accents in Mississauga and Barrie often raises a critical question: what factors influe...
Selecting the ideal tile brand often hinges on durability, design variety, and local support—how does the quality of til...
Homeowners and renovators often ask how do the prices of MSI Surfaces compare to Sarana Tile and Anatolia Tile when plan...
Mississauga homeowners and commercial renovators can unlock deep savings on high-quality flooring by exploring local <a ...
Selecting the ideal tile store in Mississauga means balancing quality, design expertise, installation support and budget...

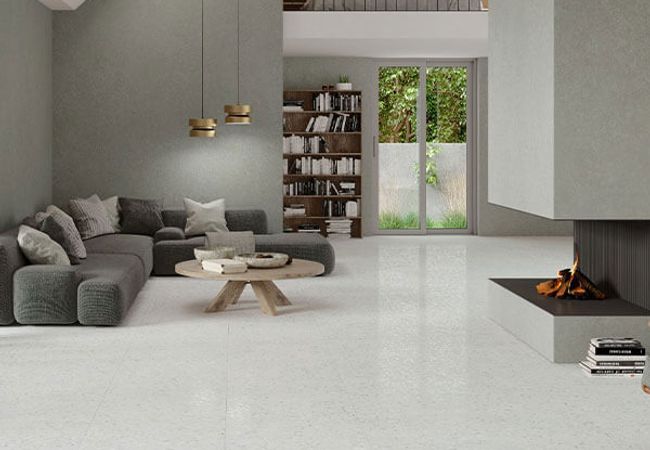
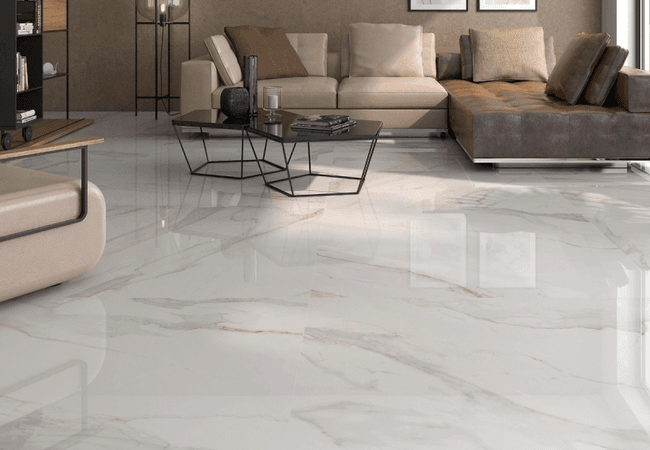
Tiles transform any space by uniting practical performance with visual appeal, yet selecting the ideal material, style, ...