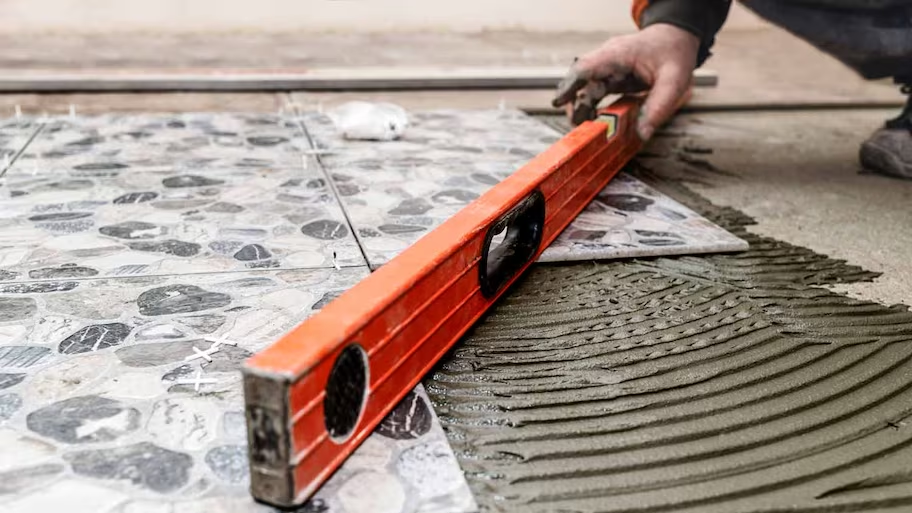
How to Install Ceramic Tile Flooring: A Step-by-Step Guide
Installing ceramic tile flooring can be a rewarding DIY project, or you might prefer to hire a professional. Here’s a comprehensive guide to help you decide and walk you through the installation process.
Getting Started with Ceramic Tile Installation
Ceramic tile installation requires careful planning and preparation. Before you start, gather all the necessary tools and materials.
Tools and Materials Needed
- Ceramic tiles
- Tile adhesive
- Tile spacers
- Notched trowel
- Tile cutter
- Grout and grout float
- Level
- Tape measure
- Chalk line
- Sponge and bucket
- Sealant
Step-by-Step Guide to Installing Ceramic Tiles
- Preparing the Surface
Ensure the surface where you will install the ceramic tiles is clean, dry, and level. If necessary, sand down any high spots and fill in low spots with a leveling compound. Remove any existing flooring if it’s not suitable as a base.
- Planning the Layout
Plan your tile layout before you start. Measure the area and mark the center point with a chalk line. This will help ensure your tiles are evenly spaced and symmetrical.
- Applying the Adhesive
Use a notched trowel to spread the tile adhesive on a small section of the floor. Hold the trowel at a 45-degree angle to create ridges in the adhesive, which will help the tiles adhere better.
- Laying the Tiles
Start laying the tiles from the center point, pressing them firmly into the adhesive. Use tile spacers between each tile to ensure consistent spacing. Continue until the entire floor is covered.

- Cutting Tiles
You will need to cut tiles to fit around edges and obstacles. Use a tile cutter for straight cuts and a tile nipper for curved cuts. Measure carefully and cut slowly to avoid breaking the tiles.
- Grouting the Tiles
Once the adhesive has set (usually 24 hours), remove the tile spacers and apply grout with a grout float. Spread the grout diagonally across the tiles to fill the joints. Wipe off excess grout with a damp sponge.
- Sealing the Grout
After the grout has dried (typically 24 hours), apply a grout sealer to protect it from stains and moisture. Follow the manufacturer’s instructions for application.
DIY or Hire a Professional?
Installing ceramic tile flooring can be a satisfying DIY project if you have the time and patience. However, it requires precision and attention to detail. If you’re not confident in your skills, hiring a professional might be the best option to ensure a flawless finish.
Post-Installation Maintenance
To keep your ceramic tile flooring looking its best:
Regularly sweep and mop to remove dirt and debris.
Clean up spills immediately to prevent stains.
Periodically reseal the grout to maintain its protective barrier.
Final Thoughts
Installing ceramic tile flooring is a great way to enhance the beauty and functionality of your space. Whether you choose to do it yourself or hire a professional, following these steps will help ensure a successful installation. Enjoy your new floor and the satisfaction of a job well done!
